
How to Create and Edit User Roles
How to create a custom role in Onsite by duplicating an existing role, renaming it, and configuring its permissions. Also covers how to edit an existing role and what each permission setting controls. Custom roles let you tailor access for specific team functions beyond the 17 standard roles.
Before You Start
- You need Admin access
- Identify which standard role is closest to what you need. Creating a custom role starts by duplicating an existing one, so picking the right base saves time.
- Decide what the new role should and should not be able to do before opening the permissions editor.
Standard Roles in Onsite
Before creating a custom role, check whether a standard role already fits. The 17 standard roles in Onsite are:
| Role | Primary Use |
|---|---|
| Admin | Full access to all settings, all modules, all projects |
| Senior Manager | Management overview including financials across projects |
| Manager | Project management with broader operational access |
| Accountant | Full financial access: invoices, transactions, party balances, procurement |
| Sales Manager | CRM leads, quotations, client-facing documents |
| Purchase Manager | Procurement: POs, RFQs, vendor management |
| Warehouse Manager | Material and inventory management |
| Design Engineer | Design files, drawing management |
| Site Engineer | Site operations: tasks, attendance, GRN, material usage |
| Supervisor | Site supervision: task progress, attendance, inspections |
| Associate HR | Attendance and payroll management |
| Data Entry Operator | Data entry across modules with limited edit access |
| Project Partner | External partner with project visibility |
| Sub Contractor | Subcontractor-level access to their own work orders |
| Operator | Equipment and machinery tracking |
| Client | Read-only access to project progress and documents for clients |
| Viewer | View-only access across assigned projects |
If none of these fit, create a custom role using the steps below.
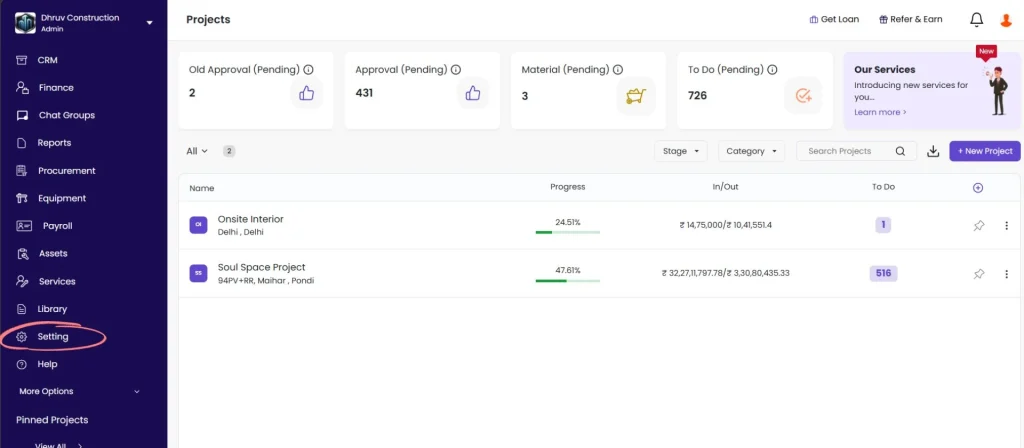
Step 1: Go to Settings
Click Setting in the left sidebar.
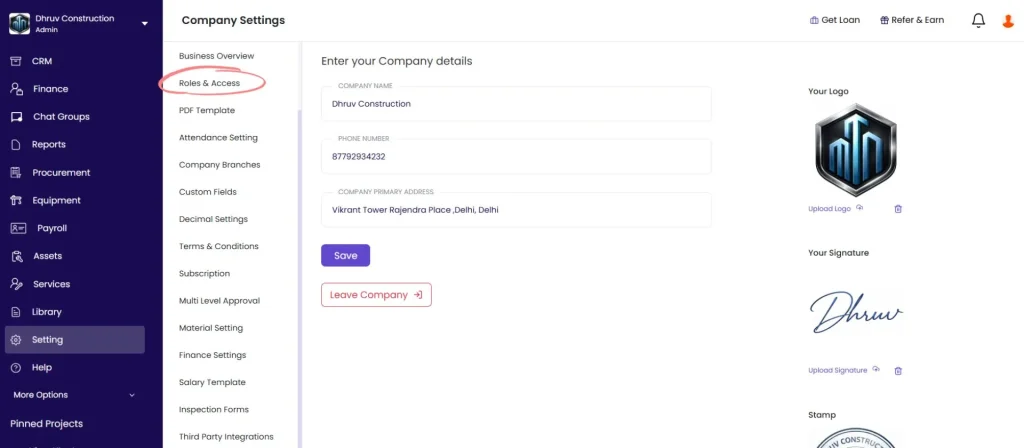
Step 2: Open Roles and Access
Click Roles & Access from the Settings menu.
Step 3: Open the Roles Tab
Click the Roles tab (next to the Team and Access tab).
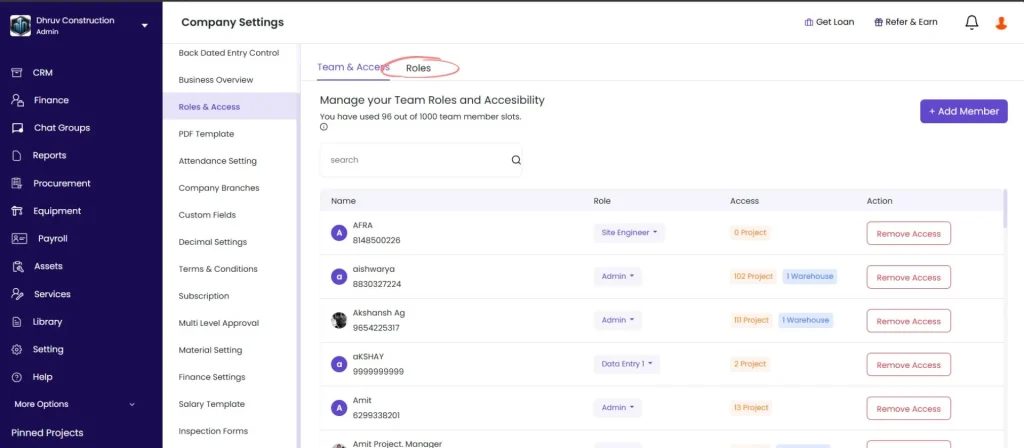
All standard and previously created custom roles appear in a list.
Step 4: Duplicate an Existing Role
Find the standard role closest to what you need.
Click the three dots (⋮) icon next to that role and click Duplicate.
A copy of the role is created with the name “Copy of [Role Name]” (e.g. “Copy of Site Engineer”).
Which role to duplicate:
| If you need a role for… | Start by duplicating… |
|---|---|
| A site team member with limited financial access | Site Engineer or Supervisor |
| An accounts team member with partial financial access | Accountant |
| A manager who needs broad but not Admin-level access | Senior Manager or Manager |
| A procurement team member with restricted PO access | Purchase Manager |
| A read-only external user | Viewer or Client |
| A custom HR role | Associate HR |
Step 5: Edit the Duplicate
Click the three dots (⋮) next to the new copy and click Edit.
The permission editor opens.
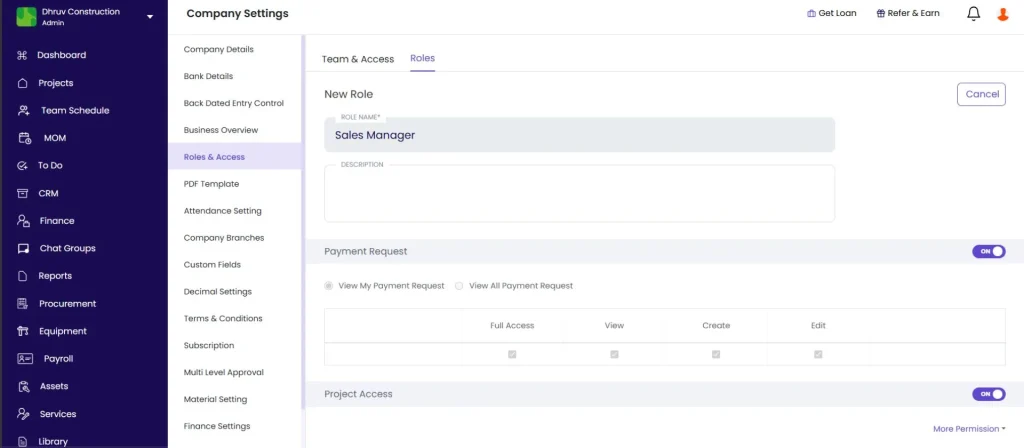
Step 6: Rename the Role
In the Role Name field at the top, clear the existing name and type the new role name.
Use a clear, descriptive name that reflects the function (e.g. “Senior Site Engineer”, “Finance Executive”, “Procurement Viewer”, “Client Reporting”).
Step 7: Configure Permissions
Scroll through the permission sections. Each module has its own set of controls.
Permission Types
| Control | What It Does |
|---|---|
| Toggle ON / OFF | Turns the entire module on or off for this role. If OFF, the member cannot see or access that module at all. |
| View My | The member can only see records they created themselves |
| View All | The member can see all records in that module across the project |
| Full Access | The member can view, create, and edit all records in that module |
| Create | The member can create new records in that module |
| Edit | The member can edit existing records in that module |
All Configurable Permission Modules
| Module | What Controlling This Affects |
|---|---|
| Payment Request | Ability to raise or view payment requests |
| Project Access | Whether the member can be added to projects at all |
| Task Management | Access to tasks: View My Tasks only or View All Tasks |
| Todo | Access to the To Do module |
| Transactions | Financial transactions: View My or View All |
| Finance | Company-level and project-level finance tab |
| BOQ | Project estimates and bill of quantities |
| CRM Lead | Lead management in the CRM module |
| Quotation | CRM quotations and client quotes |
| Files and Photos | Access to the Files and Design module |
| Manage Material | Material entry, GRN, and inventory management |
| User Access | Ability to manage team members (add, remove, change roles) |
| Bank Details | View and manage company bank accounts |
| Company Details | Access to company profile and settings |
| Manage Project Team | Ability to add or remove members within a project |
| Lock Back-Data Setting | Whether this role is subject to the back dated entry restriction |
| Download Reports | Ability to download reports from the Reports section |
| Document Sequence | Access to configure document numbering |
| Company Address | View and manage company address details |
Common Permission Configurations
| Role Scenario | Suggested Settings |
|---|---|
| Site staff who should not see financial data | Toggle OFF: Finance, Transactions, BOQ, Bank Details, CRM Lead, Quotation |
| Read-only finance reviewer | Finance: View All. Transactions: View All. All Edit and Create: OFF |
| Procurement executive who can raise POs but not approve | Manage Material: ON, BOQ: ON. Finance: OFF |
| External client with project visibility only | Tasks: View All. Files: View All. All create and edit: OFF |
| HR executive managing attendance only | Associate HR base. Finance: OFF, BOQ: OFF, CRM Lead: OFF |
Step 8: Save
Click Save at the bottom of the permission editor.
The new custom role appears in the Roles list and is immediately available to assign to team members.
How to Edit an Existing Role
To change permissions for an existing role (standard or custom):
- Go to Setting, then click Roles and Access
- Click the Roles tab
- Click the three dots (⋮) next to the role
- Click Edit
- Make the required permission changes
- Click Save
⚠️ Editing a role updates permissions for every team member currently assigned that role. Changes take effect immediately. Inform affected team members before making significant permission changes.
How to Delete a Custom Role
- Go to Setting, then click Roles and Access
- Click the Roles tab
- Click the three dots (⋮) next to the custom role
- Click Delete and confirm
⚠️ You cannot delete a role that is currently assigned to one or more team members. Reassign those members to a different role first, then delete.
💡 Standard roles (the 17 default roles listed above) cannot be deleted, only duplicated and customised.
Tips
- Always duplicate an existing role rather than trying to build from scratch. Duplication copies all permissions from the base role, so you only need to turn a few things on or off rather than configuring every module.
- Editing a standard role directly changes permissions for all members assigned to it. If you want to change permissions for only some people in a role, duplicate the role first and create a custom variant.
- Test a new custom role by assigning it to one team member and asking them to log in and verify they can see and do what they should before rolling it out to the full team.
- The Lock Back-Data Setting permission is worth reviewing on every custom role. If it is OFF for a role, the back dated entry restriction in Settings does not apply to members with that role. Only turn this OFF intentionally.
- Use “View My” for Transactions and Tasks on site staff roles. This prevents site team members from seeing other team members’ financial entries while still letting them see their own work.
- Role names are visible to team members in their profile. Use names that reflect the actual function (e.g. “Finance Executive” rather than “Copy of Accountant v2”).
If Something Goes Wrong
| Problem | Likely Cause | What to Do |
|---|---|---|
| Cannot see the Roles tab | Not an Admin | Ask your Admin to make the changes or grant Admin access |
| Custom role not appearing in the member role dropdown | Role was not saved | Go back to the Roles tab and confirm the role appears in the list |
| Member still has old permissions after role edit | Member’s app not refreshed | Ask the member to log out and log back in |
| Cannot delete a role | Role is assigned to one or more members | Go to Team and Access, find all members with that role, reassign them, then delete the role |
| Role permissions not saving | Required fields missing or browser issue | Ensure the Role Name field is filled in and click Save again |
| Edited a standard role by mistake | Standard role permissions changed for all members | Go back to that role, click Edit, and restore the original permissions manually. Refer to the Standard Role Permissions article for the original settings. |
| New role shows correct permissions in Settings but member still sees old access | App cache on member’s device | Ask the member to fully log out, close the app, and log back in |