
How to Set Up Custom Fields
How to create custom fields for documents in Onsite, including Purchase Orders, Sales Invoices, Quotations, Projects, and more. Custom fields let you capture additional information on documents that Onsite does not include by default, such as a site reference number, delivery instruction, work order reference, or contract code.
Before You Start
- You need Admin access
- Decide which document type needs the custom field and what information you want to capture. Custom fields are set per document type, so a field created for Purchase Orders will not appear on Sales Invoices.
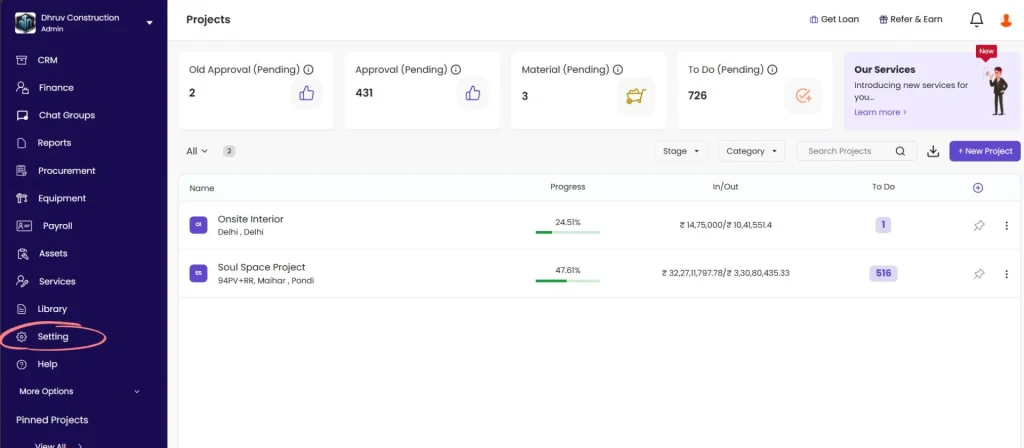
Step 1: Go to Settings
Click Setting in the left sidebar.
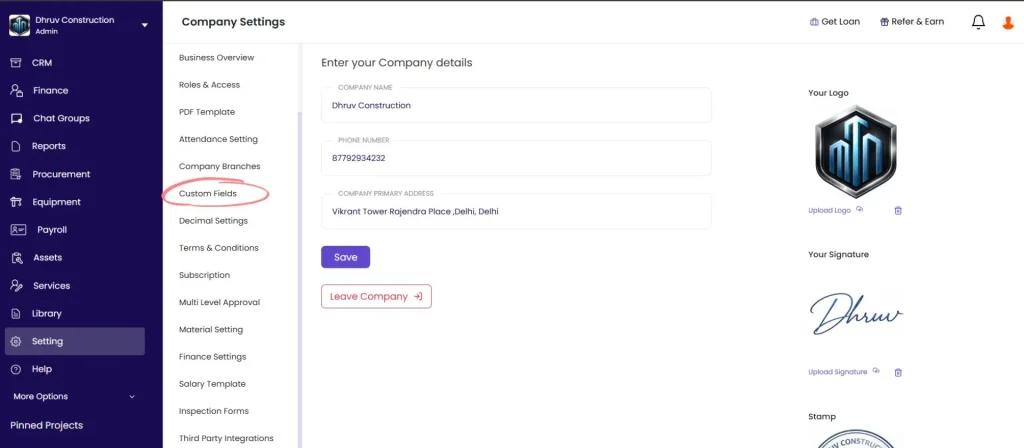
Step 2: Open Custom Fields
Click Custom Fields from the Settings menu.
Step 3: Select the Document Type
Click the document type dropdown at the top of the page. The default selection is Purchase Order.
Select the document type you want to add a field to.
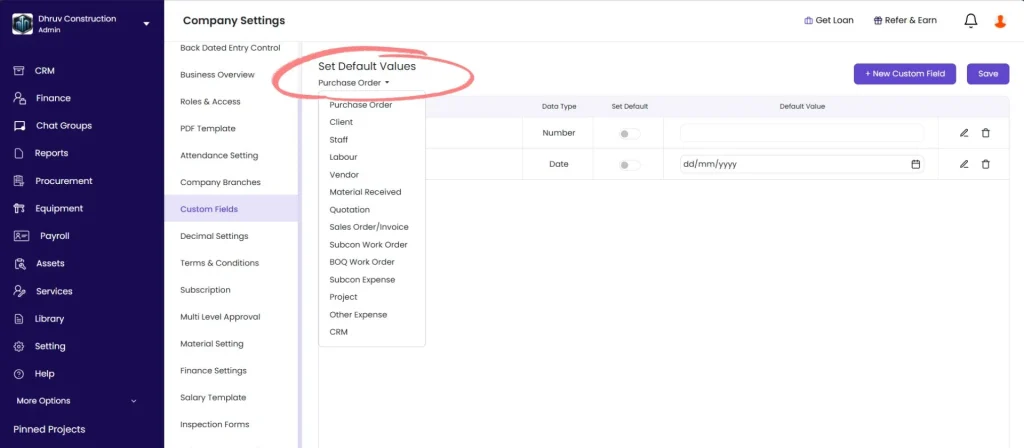
Available document types:
| Document Type | Where the Field Appears |
|---|---|
| Purchase Order | On each PO created in Procurement |
| Quotation | On client quotations |
| Sales Order / Invoice | On sales invoices raised against clients |
| Subcon Work Order | On subcontractor work orders |
| BOQ Work Order | On BOQ-linked work orders |
| Material Received (GRN) | On Goods Received Notes |
| Subcon Expense | On subcontractor expense entries |
| Other Expense | On other expense transactions |
| Project | On the project details form |
| Client | On client party profiles |
| Staff | On staff profiles in Payroll |
| Labour | On labour profiles |
| Vendor | On vendor party profiles |
| CRM | On CRM lead records |
Step 4: Select the Document Type
Click + New Custom Field.
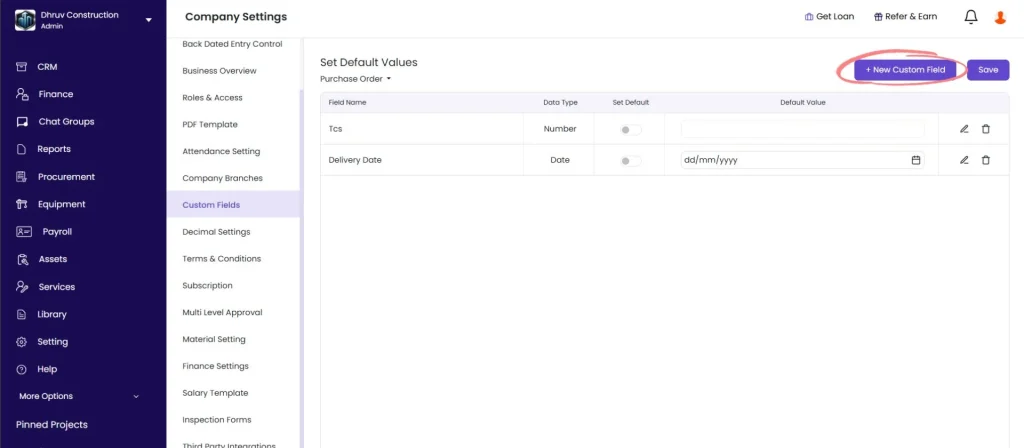
A New Custom Field panel appears on the right.
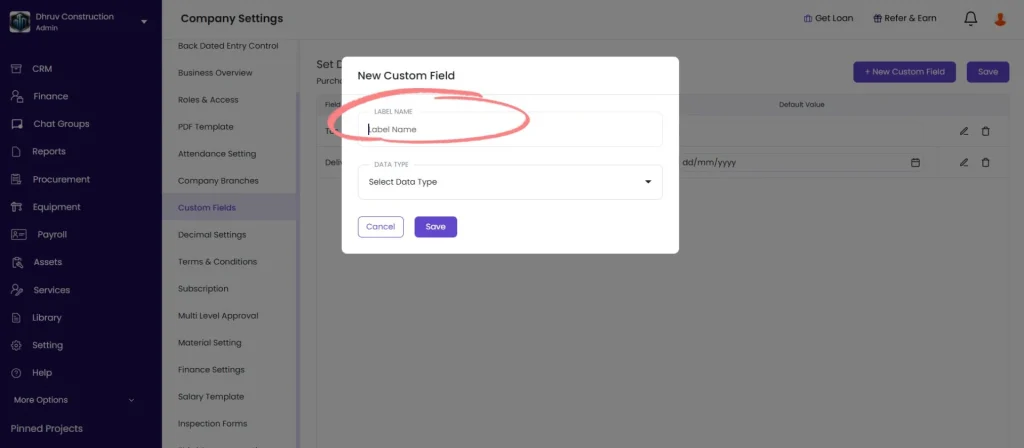
Step 5: Fill in the Field Details
Label Name
Enter the name of the field as it will appear on the document. Keep it short and clear.
Examples:
| Document | Useful Custom Field Labels |
|---|---|
| Purchase Order | Work Order Ref, Site Reference, Approved By, Delivery Instructions |
| Sales Invoice | Contract No., Client PO Number, Project Phase, Payment Terms Ref |
| Quotation | Valid Until, Quoted By, Revision No. |
| Project | Client Category, Consultant Name, Tender Reference |
| Staff / Labour | Emergency Contact, Blood Group, ID Proof Number |
| GRN | Delivery Challan No., Truck No., Driver Name |
| CRM | Lead Budget, Architect Name, Site Visit Date |
Data Type
Select the type of data this field will accept:
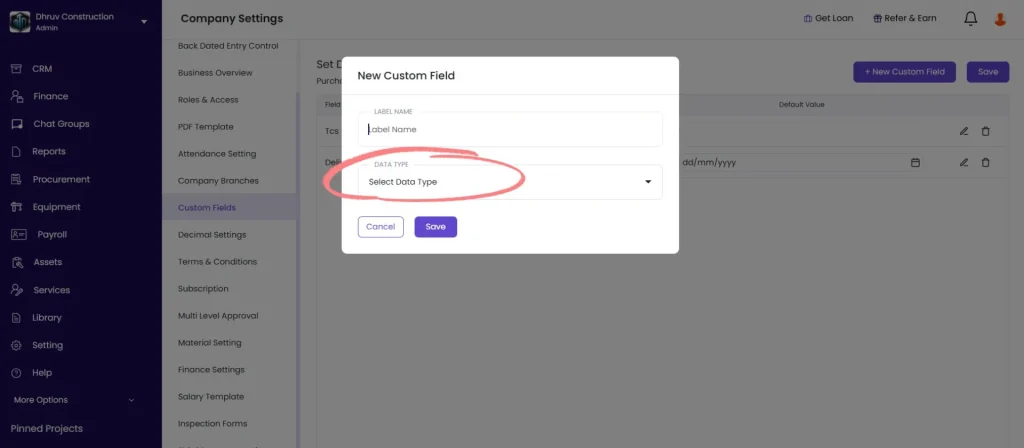
| Data Type | Use For |
|---|---|
| Text | Names, reference numbers, notes, instructions — any free-text input |
| Number | Numeric values such as amounts, quantities, or counts |
| Date | Date fields with a date picker (e.g., delivery date, expiry date, site visit date) |
Click Save.
The field appears in the custom fields list and will show on all new documents of the selected type going forward.
Step 6: Set a Default Value (Optional)
If you want a field to pre-fill with a standard value on every new document, set a default:
- Find the field in the list
- Click the edit (pencil) icon next to it
- Enter the value in the Default Value column
- Click Save
When to use a default value:
- A Purchase Order always goes to the same delivery address: set the default for a Delivery Address field
- Every invoice needs the same payment terms text: set a default for a Payment Terms Ref field
- All GRNs need a standard delivery inspection note: set the default text once
Leave the default blank if the value changes on every document.
Step 7: Edit or Delete a Custom Field
To edit a field
Click the pencil icon next to the field, update the label name or default value, and click Save. Note: you cannot change the data type after saving. Delete and recreate the field if you selected the wrong type.
To delete a field
Click the delete (trash) icon next to the field and confirm. The field is removed from all new documents immediately. Existing documents that already had this field filled in retain their data.
Tips
- Custom fields appear on all new documents of the selected type from the point they are created. They do not appear retroactively on documents that were created before the field was set up.
- Use Text for most fields. Only switch to Number if the team needs to enter a numeric-only value and you want to prevent text input. Use Date when you specifically need a date picker to appear.
- You can add multiple custom fields per document type. Group related fields under clear label names so the document stays readable.
- Custom fields appear on the printed and downloaded PDF version of the document if the PDF template supports it. If a field is not appearing on the PDF, check the PDF template settings.
- For Vendor, Client, Staff, and Labour profiles, custom fields are useful for capturing company-specific information that Onsite does not have a default field for, such as ID proof number, blood group, or contractor licence number.
If Something Goes Wrong
| Problem | Likely Cause | What to Do |
|---|---|---|
| Cannot see Custom Fields option | Not an Admin | Ask your Admin to set up the field or grant Admin access |
| Field not showing on the document | App not refreshed after saving | Reload the page and open a new document to confirm the field appears |
| Field showing on old documents with no value | Field was added after those documents were created | This is expected. The field only populates on documents created after the field was set up. |
| Wrong data type selected | Saved with incorrect type | Delete the field and recreate it with the correct data type |
| Default value not pre-filling | Default not saved | Edit the field, re-enter the default value, and click Save again |
| Field not appearing on downloaded PDF | PDF template does not include custom fields | Check the PDF template settings under Settings and confirm custom fields are enabled for that template |
| Need to change field name | Label name can be edited | Click the pencil icon, update the label name, and save |