
How to Configure Finance Settings
How to configure company-level finance settings in Onsite — including pre-tax deduction and retention, invoice numbering, invoice prefix, and cost code setup. These settings control how financial documents are calculated and numbered across all projects.
Before You Start
- You need Admin access
- Decide with your accounts team whether deductions and retention should apply before or after tax — this affects all future transactions
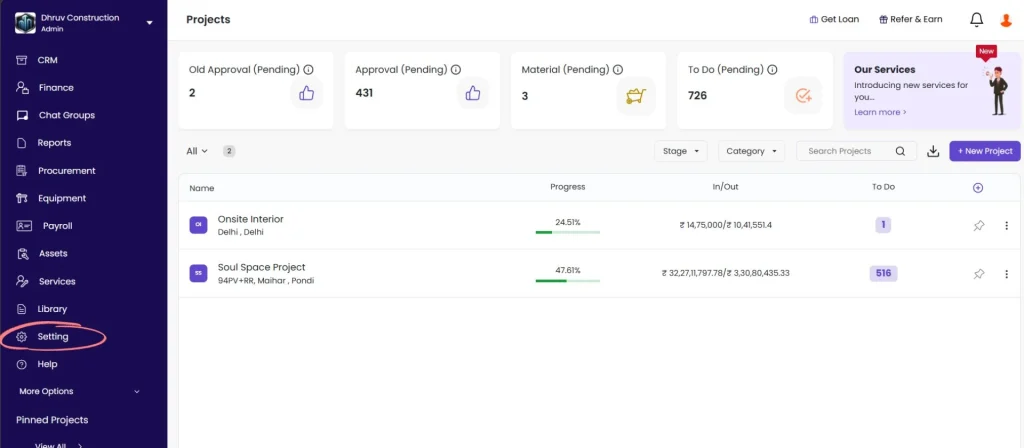
Step 1: Go to Settings
Click Setting in the left sidebar.
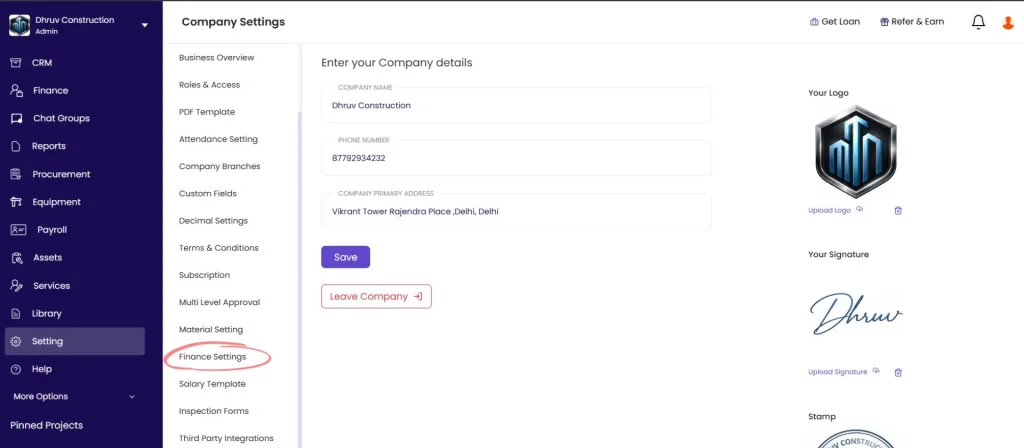
Step 2: Open Finance Settings
Click Finance Settings from the Settings menu.
Step 3: Configure Pre-Tax Deduction and Retention
Under Finance Controls, you will see:
| Setting | What It Does |
|---|---|
| Pre-Tax Deduction / Retention | When ON, deductions and retention are subtracted from the gross amount before tax is calculated. When OFF, tax is applied first, then deductions are subtracted. |
Default: OFF
Toggle ON if your company policy requires deductions and retention to be applied before tax. This changes the tax calculation on all sales invoices and subcontractor bills where deductions or retention are applied.
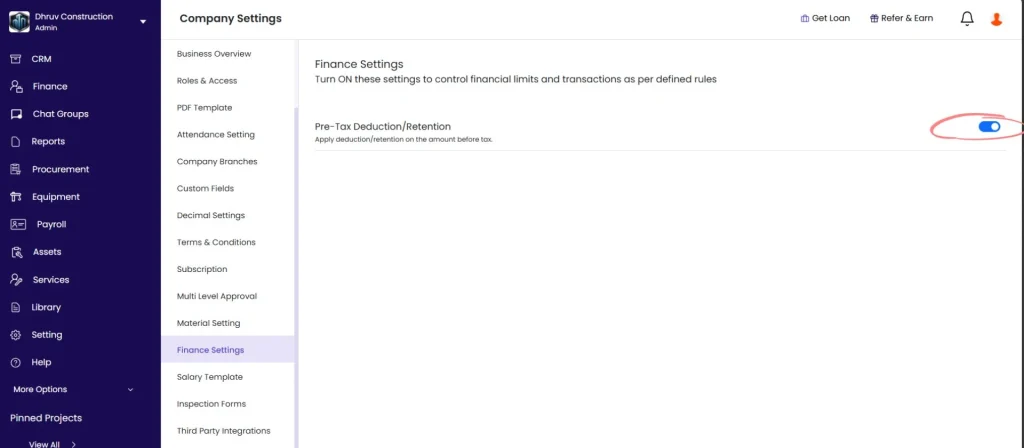
⚠️ This setting affects all existing and future transactions. Discuss with your CA before enabling.
Step 4: Configure Invoice Numbering
Under Invoice Settings, configure how invoice numbers are generated:
| Setting | What It Does |
|---|---|
| Invoice Numbering | Choose Auto to let Onsite generate sequential invoice numbers automatically, or Manual to enter invoice numbers yourself |
| Invoice Prefix | Add a prefix that appears before every auto-generated invoice number (e.g. “INV-“, “2024-“, your company short name) |
| Starting Number | Set the number from which auto-numbering begins — useful when migrating from an existing numbering sequence |
Tips:
- Use Auto numbering to avoid duplicate invoice numbers across your team
- Set the Starting Number to continue from your last invoice number if you are switching from manual invoicing
- The prefix is optional — leave it blank if you do not need one
Step 5: Set Up Cost Codes
Cost codes let you categorize expenses, payments, and transactions for reporting. Setting these up here makes them available across all projects.
To add a cost code:
- Scroll to the Cost Codes section under Finance Settings
- Click + Add Cost Code
- Enter the cost code name (e.g. “Office Rent”, “GST Absorbed”, “Loan Interest”, “Site Mobilisation”)
- Click Save
Recommended cost codes to set up:
| Cost Code | Use For |
|---|---|
| Office Rent | Monthly office rent recorded at company level |
| Utilities | Electricity, water, internet — office level |
| Loan Interest | Interest portion of EMI payments |
| Loan Repayment — Principal | Principal portion of EMI payments |
| GST Absorbed | GST paid on behalf of clients who do not reimburse GST |
| Mobilisation | Site setup and mobilisation costs |
| Overhead | General overhead not linked to a specific project activity |
💡 Cost codes set here appear in the dropdown when recording any transaction. Well-named cost codes make expense reports significantly easier to filter and read.
Step 6: Save
Changes to toggles (Pre-Tax Deduction) save automatically when toggled.
For invoice prefix, starting number, and cost codes — click Save after making changes.
Tips
- Pre-Tax Deduction / Retention is OFF by default — only enable it if your accounting policy explicitly requires deductions before tax
- Auto invoice numbering prevents gaps and duplicates when multiple team members are creating invoices at the same time
- Add all cost codes you plan to use before the team starts recording transactions — retroactively recategorising entries is time-consuming
- Cost codes are company-wide — they apply across all projects, so keep names clear and consistent
If Something Goes Wrong
| Problem | Likely Cause | What to Do |
|---|---|---|
| Cannot see Finance Settings | Not an Admin | Ask your Admin to configure or grant Admin access |
| Toggle not saving | Browser issue | Refresh the page and toggle again |
| Invoice numbers not generating automatically | Invoice Numbering set to Manual | Go to Finance Settings → Invoice Settings → switch to Auto |
| Cost code not appearing in transaction dropdown | Not saved properly | Go back to Finance Settings, re-enter the cost code, and save |
| Pre-tax deduction not applying on invoices | Setting toggled but not reflecting | Refresh the app — the change applies to new documents created after the toggle |