
How to Manage Project Settings and Approvals in Onsite
How to change a project’s status, review and action pending approvals, edit project details (including address, geo location, and project value), manage the location structure for inspections, and update your profile settings.
Before You Start
- You must be inside a project
- Admin or Owner role required to edit Project Details and manage Location Structure
Part 1 — Changing Project Status
The project status badge (e.g. Ongoing) is visible in the top right of the project header.
Click it to open the status options:
| Status | When to Use |
|---|---|
| Ongoing | Project is actively in progress |
| On Hold | Project is paused temporarily |
| Not Started | Project has not yet begun |
| Completed | Project is finished |
Status can be changed back at any time. If you do not want to delete a project but need to stop it appearing in active views, set it to On Hold or Completed.
Part 2 — Pending Approvals
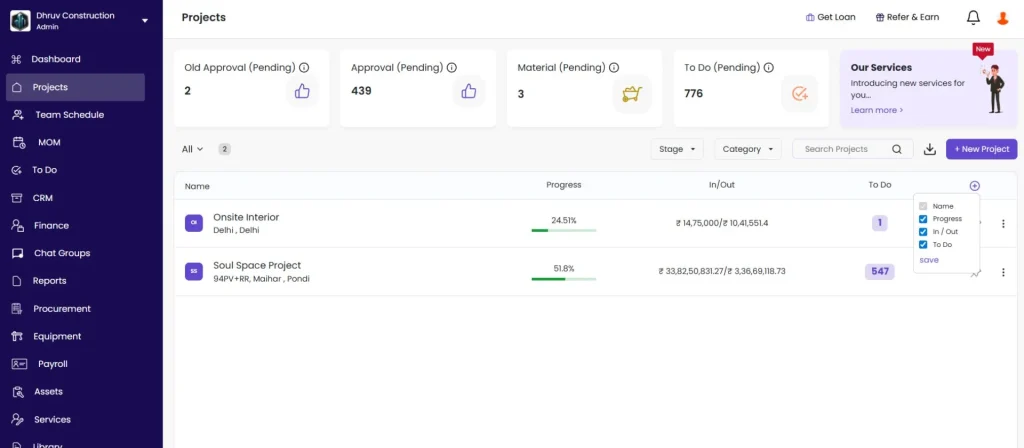
Click the Pending Approvals icon (bell or flag icon in the project header, top right) to open the approvals panel.
The panel shows all items awaiting approval on this project, grouped by type:
| Approval Type | What It Covers |
|---|---|
| Task Progress | Task progress entries submitted by team members |
| Payment Entries | Payment In and Payment Out transactions |
| Sales Invoice | Sales invoices raised against clients |
| Sales Invoice Retention | Retention entries on sales invoices |
| Design Version | New design file versions uploaded |
| Purchase Order | POs created in Procurement |
| Subcon Bill | Subcontractor bills submitted |
| Subcon Retention | Retention entries on subcon bills |
Each item shows: date, description, submitted by, and value.
Use the filter dropdown to switch between Pending and already-actioned items.
Click any item to open it and Approve or Reject directly from the panel.
💡 Pending Approvals here shows only items for the current project. To see pending approvals across all projects, go to the company-level Approvals view from the main navigation.
Part 3 — Project Settings
Click the ⚙ Settings icon in the top right of the project header. Three options appear: Project Details, Members, and Location Structure.
Project Details
Click Project Details to open the Project Setting panel.
| Field | What to Enter or Do |
|---|---|
| Project Code | Short reference code (e.g. NR). Auto-generated but editable. |
| Project Name | Full project name |
| Project Stage | Current execution phase (e.g. Civil, Structural, Finishing, Handover). Click the ⚙ icon next to the field to manage available stages. |
| Project Category | Type of project (e.g. Residential, Commercial, Interior). Click the ⚙ icon to manage available categories. |
| Start Date / End Date | Planned project dates |
| Project Address | Site address — see below for geo location setup |
| Select Company Branch | Select which company branch (and GSTIN) is associated with this project. The selected branch’s address and GST appear automatically on all sales invoices for this project. |
| Attendance Radius | Geofence in metres — staff must be within this distance to punch in via mobile |
| Project Value | Total contract value in Rs. Used in the financial dashboard to show budget vs actual. |
| Project Orientation | Optional (e.g. North-facing) |
| Project Dimension | Optional — overall site dimensions |
| Scope of Work | Optional free text describing the project scope |
Click Save to apply changes.
Setting Project Address and Geo Location
The project address is used as the centre point for the Attendance Radius geofence.
- Click the Project Address field
- The address form opens — fill in Address Line 1, City, State, ZIP, Country
- Under Project Geo Location, click the Google Address search field
- Type the address — Google autocomplete suggestions appear
- Select the correct address from the list
- The Lat, Long field auto-fills with coordinates. You can also paste a Google Maps link directly into this field.
- Click Save on the address form
- Click Save again on the Project Details panel
To remove the geo location pin: click Remove Geo Location.
⚠️ If no geo location is set, the Attendance Radius has no reference point and cannot restrict where staff can punch from. Always set the geo location when enabling attendance radius restrictions.
Deleting a Project
The Delete Project button is at the bottom of the Project Details panel.
- Click the ⚙ Settings icon, then click Project Details
- Click Delete Project at the bottom of the panel
- A confirmation dialog appears — read it carefully:
- All project data is permanently removed: transactions, attendance, materials, MOMs, inspections
- Party balances and company-level financial records are affected
- This action cannot be undone
- Click Delete Project to confirm, or Cancel to go back
⚠️ If you are unsure, change the project status to On Hold or Completed instead — there is no archive option in Onsite.
Managing Project Stage Options
Click the ⚙ icon next to the Project Stage dropdown to open stage settings.
| Action | How |
|---|---|
| Add a new stage | Click + New Stage, enter a name, click Save |
| Enable or disable a stage | Toggle the switch next to any stage — disabled stages do not appear in the dropdown |
| Search stages | Use the search bar at the top of the panel |
Click Save to confirm changes.
Managing Project Category Options
Click the ⚙ icon next to the Project Category dropdown to open category settings.
| Action | How |
|---|---|
| Add a new category | Click + New Category, enter a name, click Save |
| Edit a category name | Click the edit icon next to the category |
| Delete a category | Click the delete icon next to the category |
Members
Click Members in the Project Setting panel to see all team members currently on this project.
| Column | What It Shows |
|---|---|
| Party Name | Member’s name |
| Phone Number | Registered phone number |
| Role | Their role on this project (e.g. Admin, Site Engineer, Manager) |
Use the Search bar to find a specific member.
💡 The Members list here is view-only. To add or remove project members, use the project’s Party tab or go to Settings, then Roles and Access.
Location Structure
Click Location Structure in the Project Setting panel to manage the hierarchical location list used for inspections and task locations.
Adding a top-level location: Click + Location, enter a location name (e.g. “Floor 1”, “Block A”, “Ground Floor”), and save.
Adding a sub-location: Click the three-dot (⋮) icon on any location and select Add Child Location. Enter the sub-location name (e.g. “Bedroom 1”, “Kitchen”) and save.
Locations can be nested to any depth: Floor 1, Bedroom 1, Bathroom.
Editing or deleting a location: Click the ⋮ icon on any location for rename and delete options.
💡 Location Structure is what populates the Location dropdown when running a new inspection in the Inspection tab. Set up all floors and rooms before the team starts running inspections.
Part 4 — Profile Settings
Click your name or avatar in the top right corner of any page, then click Profile Settings.
Edit Your Details
| Field | What to Do |
|---|---|
| Profile Photo | Click the edit icon on the photo to upload a new one |
| User Name | Required — your display name across the app |
| Phone Number | Your registered login number — not editable here |
| Designation | Select from the dropdown (e.g. Business Owner, Site Engineer, Project Manager) |
Click Update to save.
Other Options
| Option | What It Does |
|---|---|
| Admin Control | Access admin-level company controls |
| Grant access to Onsite support | Allow the Onsite support team to access your account for troubleshooting |
| Log Out | Sign out of the app |
Tips
- Attendance Radius should match the actual site footprint. If set too small, staff near the site boundary may be blocked from punching in on mobile. Set it to 50 to 150 metres for enclosed sites and up to 500 metres for open or road projects.
- Location Structure feeds the Inspection module. Add all floors, zones, and rooms before starting inspections so inspectors can select the correct location for each entry.
- Project Value is informational — it appears in financial dashboards and reports. Keep it updated as the contract value changes.
- Select Company Branch controls which GST number appears on sales invoices for this project. Set it correctly if your company has multiple GST registrations.
- Pending Approvals is project-specific. For a cross-project view, use the company-level approvals panel.
- Project Stage and Category lists are admin-configurable. Stages can be disabled (hidden from the dropdown) without being deleted, so old stages are preserved in historical records.
If Something Goes Wrong
| Problem | Likely Cause | What to Do |
|---|---|---|
| Location not appearing in the Inspection form | Not added in Location Structure | Go to Project Settings, open Location Structure, and add the location |
| Member not visible in the Members tab | Not added to the project Party tab | Add the person via the project Party tab first |
| Pending Approvals showing 0 | No pending items or filter is set to non-Pending | Check the filter dropdown and switch to Pending |
| Cannot edit Project Details fields | Insufficient permissions | Only Admin or Owner roles can edit project settings |
| Attendance not registering for staff | Staff outside the Attendance Radius | Go to Project Settings, open Project Details, and increase the radius |
| Project Stage or Category not in dropdown | Stage or category not added or is disabled | Click the ⚙ icon next to the field and add or enable the option |
| Wrong GST appearing on invoices | Company Branch not set for this project | Go to Project Settings, Project Details, and select the correct Company Branch |